The Good, The Bad & The Ugly
If you have ever experienced a renovation you know first hand that before a space transforms to the beautiful space you had envisioned, it has to first become pretty ugly. Our house quickly transitioned from a fairly presentable home to what looked like a run-down, abandoned structure. Throughout the worst of the winter the power and water were turned off and the windows were removed and boarded up. I would go to site meetings in single digit temps and leave shivering from head to toe. Of course I was lucky; I felt bad for the guys who have to work outdoors every day all winter long!
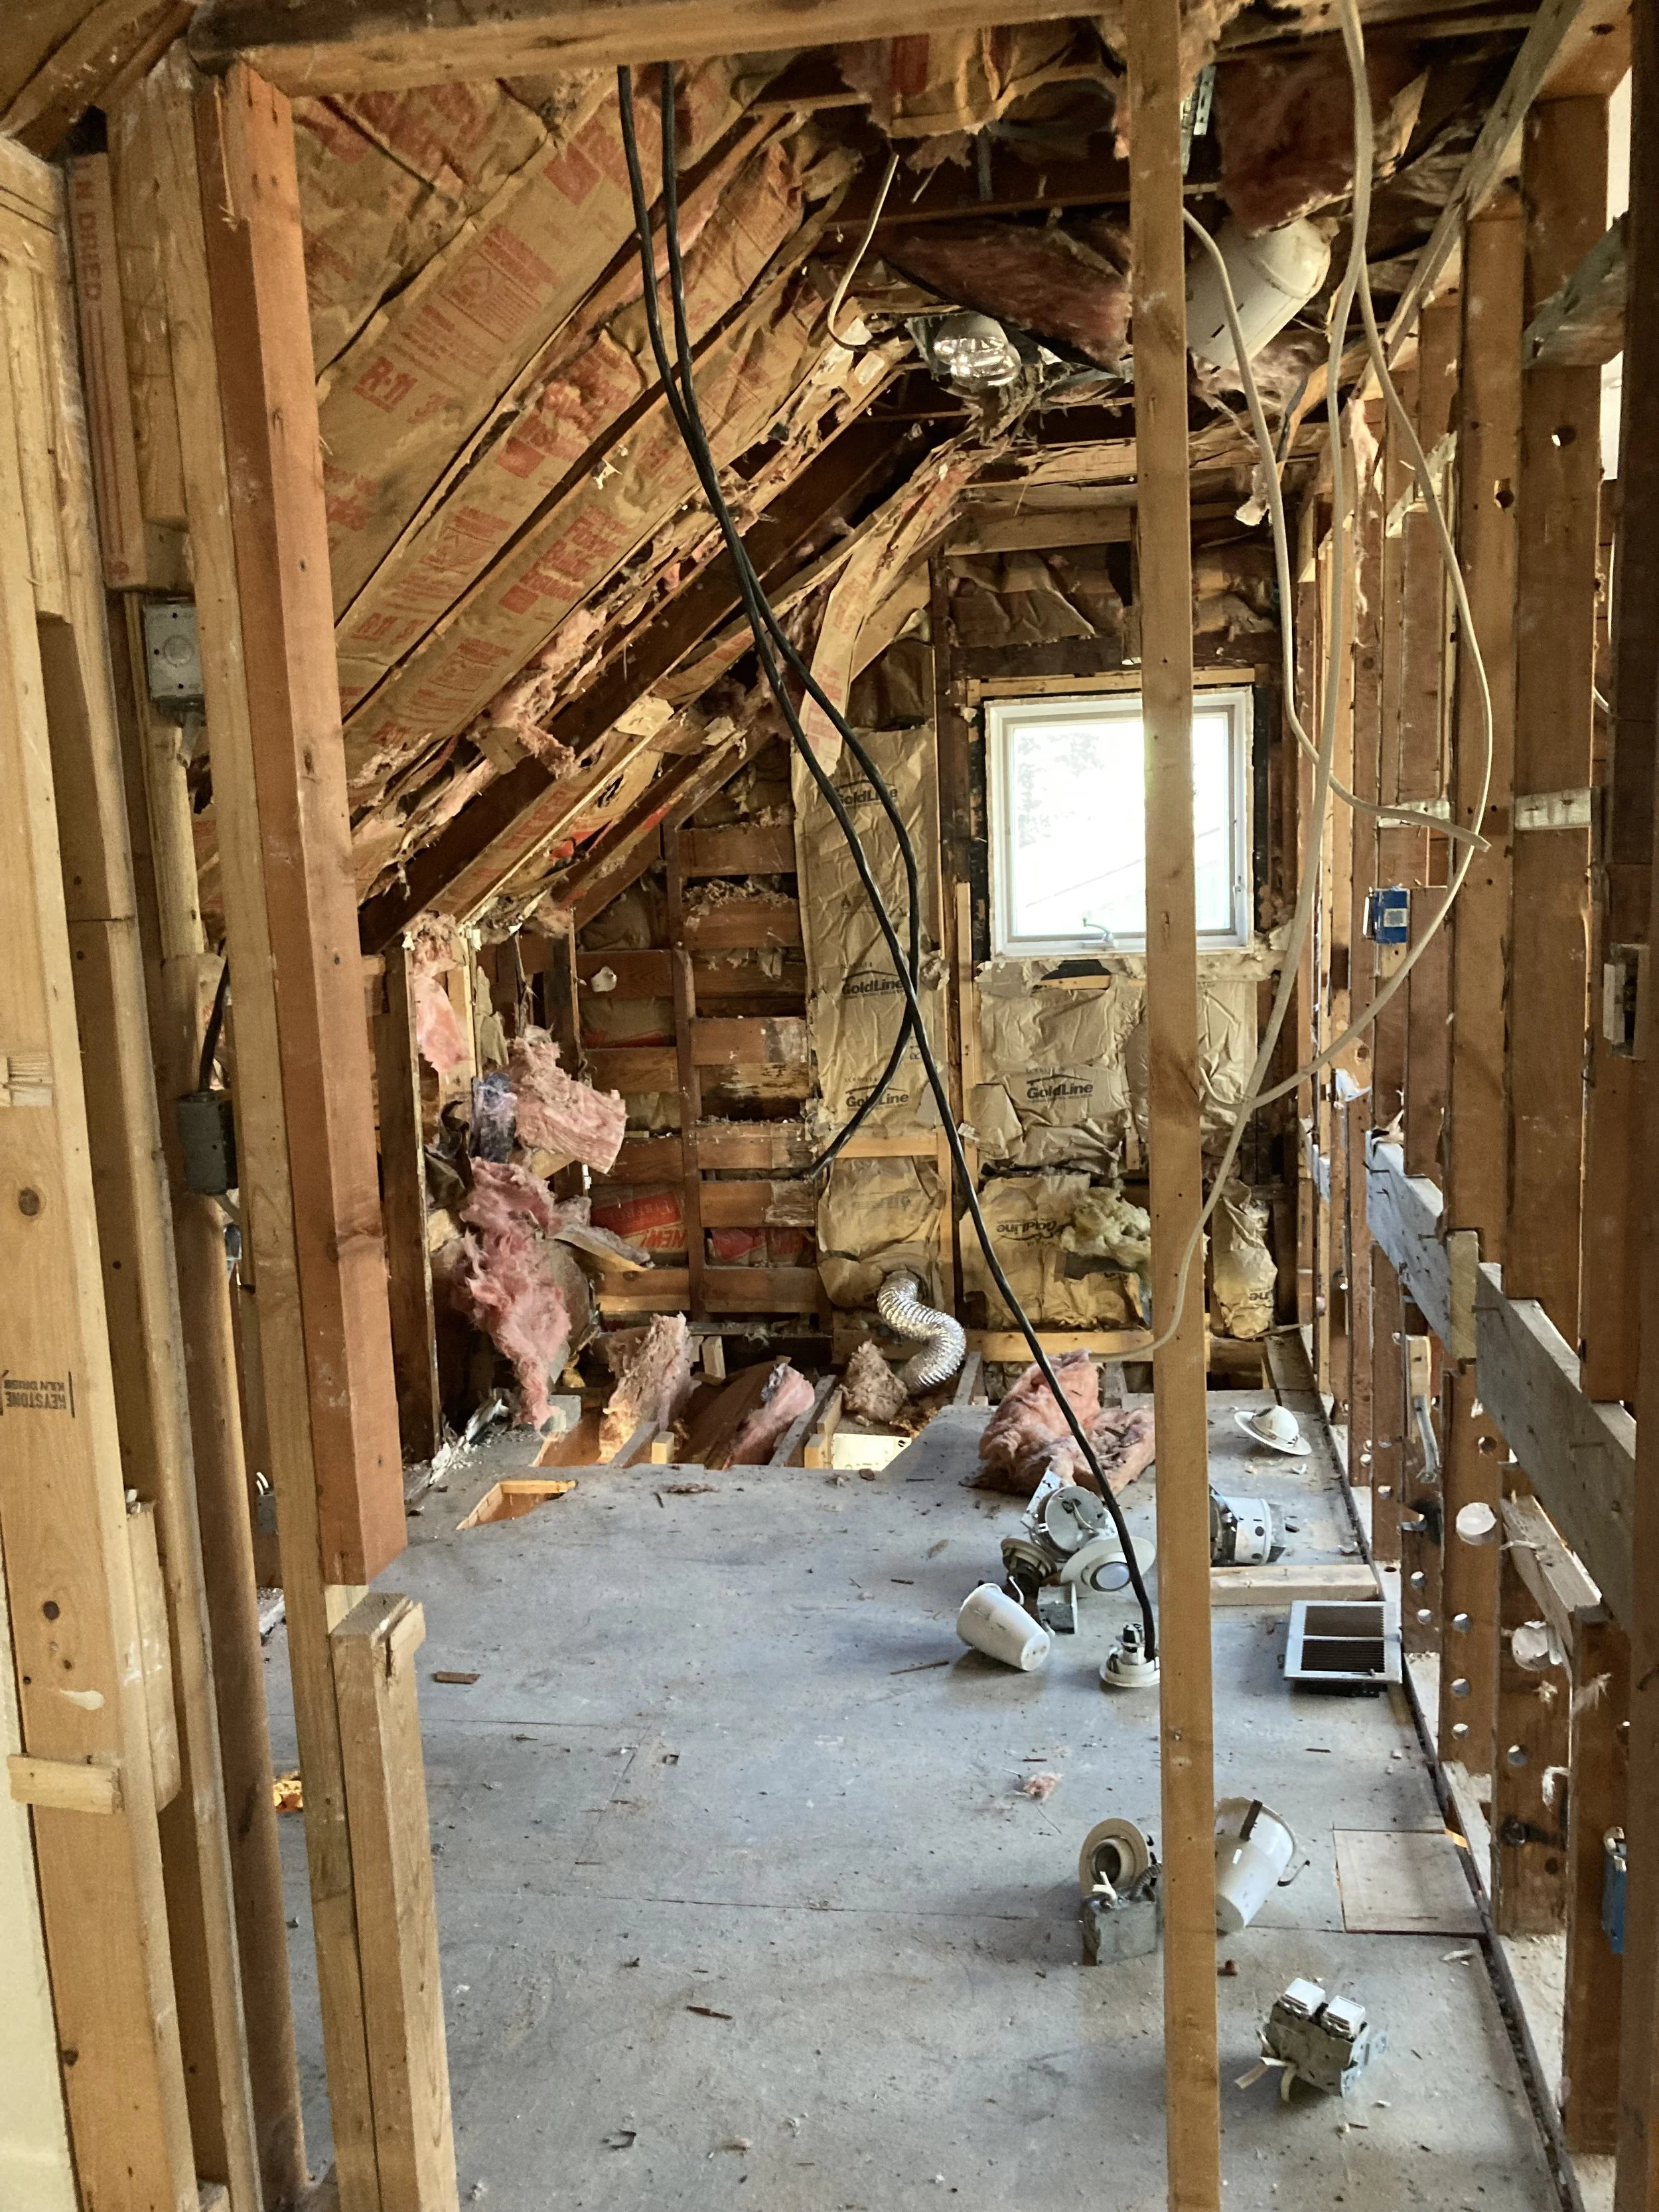
A view of the original upstairs bath after the Jacuzzi tub and drywall had been removed.
This is where it really got real. We were very much committed at this point with no turning back! Of course no project is complete without some unexpected mishaps. We discovered old asbestos tile on the original part of the second floor that had previously been disturbed, so that had to go, along with the underlayment (It was far easier to just remove all of it than to try to simply remove the tile and mastic). We also discovered the incorrect insulation was used on the exterior walls when the house was remodeled and added onto around 2003, which meant we needed to essentially re-insulate the entire house. Everything else was pretty much to be expected, however, with high demand in the market, supply shortage, and increasing transportation costs our project has gone further and further over budget. To anyone out there considering a similar undertaking I cannot express enough how important it is to have a contingency budget! In our case, even that is gone since all of our labor and material costs keep coming back around 10% higher than estimated. We are going to have to get creative to come up with the extra funds! The only real concession we have made thus far is eliminate the two back garage doors, which still work, and could easily be replaced down the road.
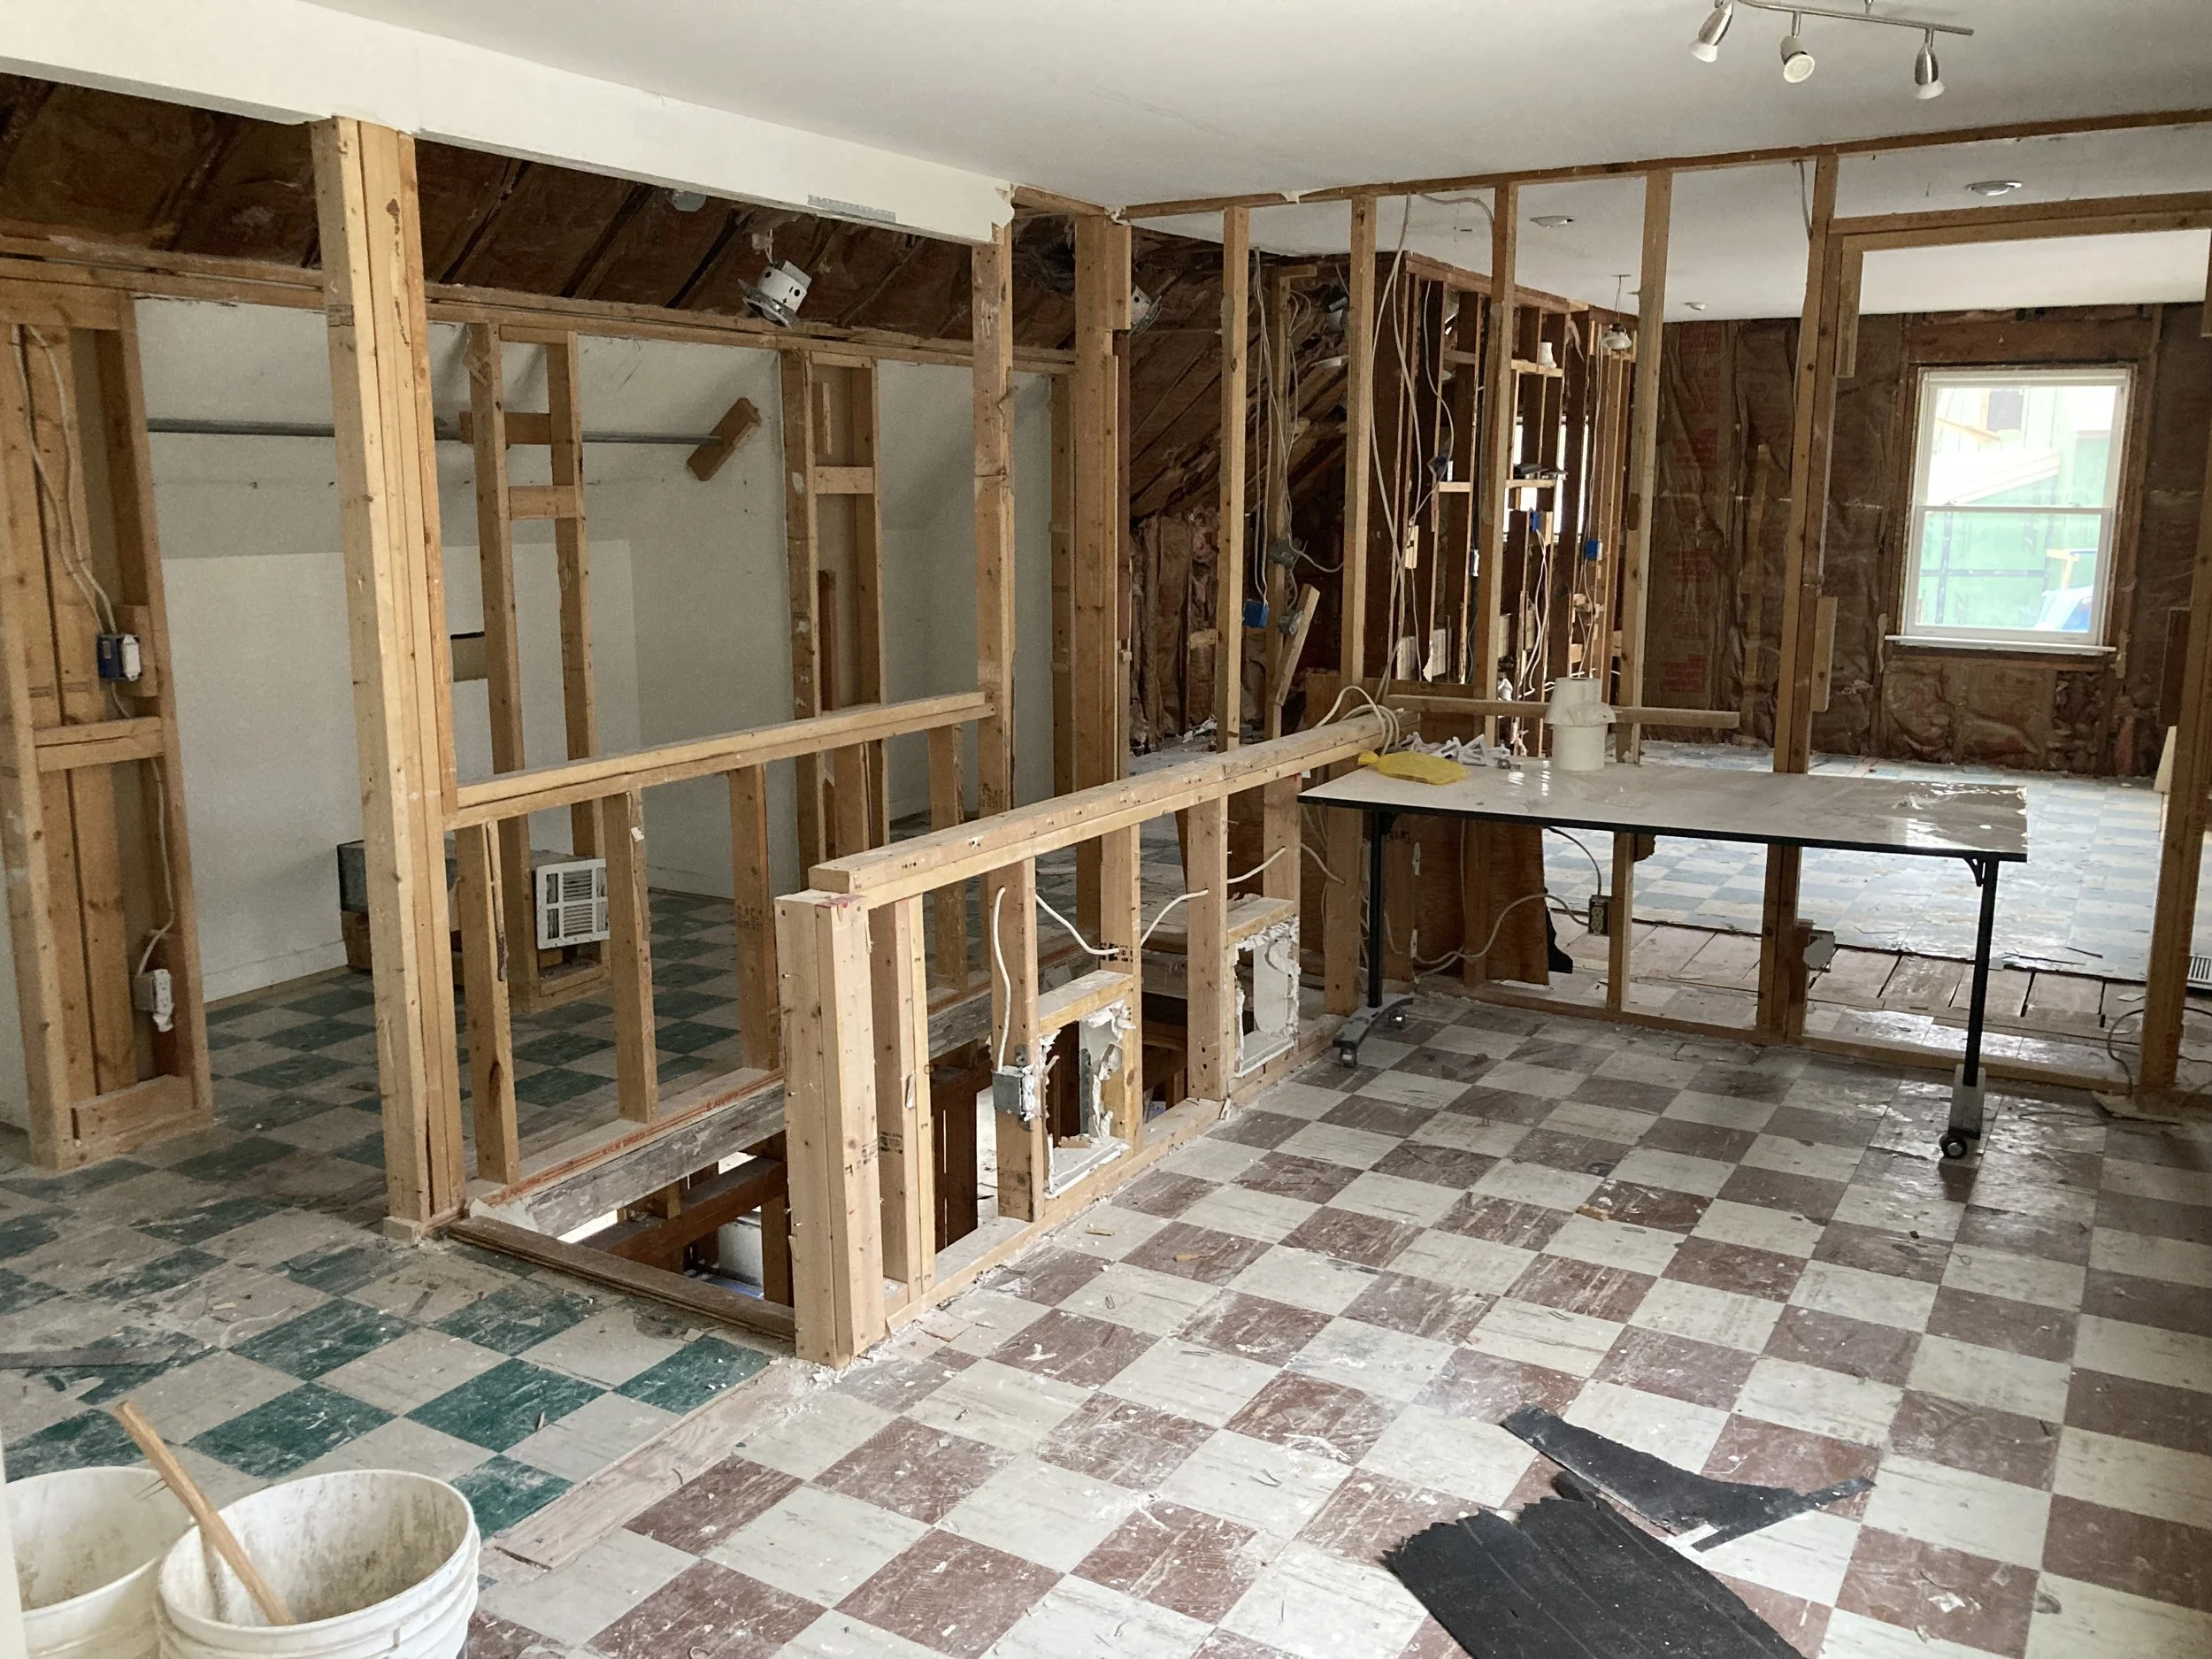
Old tile original to the 1947 home on the second level.
One thing I am happy we have done is plan for the future. We aren’t currently finishing the basement, however, we have installed an additional sump pump and floor drainage around the perimeter in efforts to ensure the basement stays dry. We installed a new egress window and dug out the window well and added a ladder so it will meet code. We also jack-hammered the concrete floor in the original part of the basement so that we could level it and install a full bath down the road. We ran plumbing there and also to the future Great Room so that we may eventually install a wet bar! Doing all of this work now ensures that all the heavy lifting is done and our newly finished main level stays intact! It also will make the work later much less costly and easier to finish.
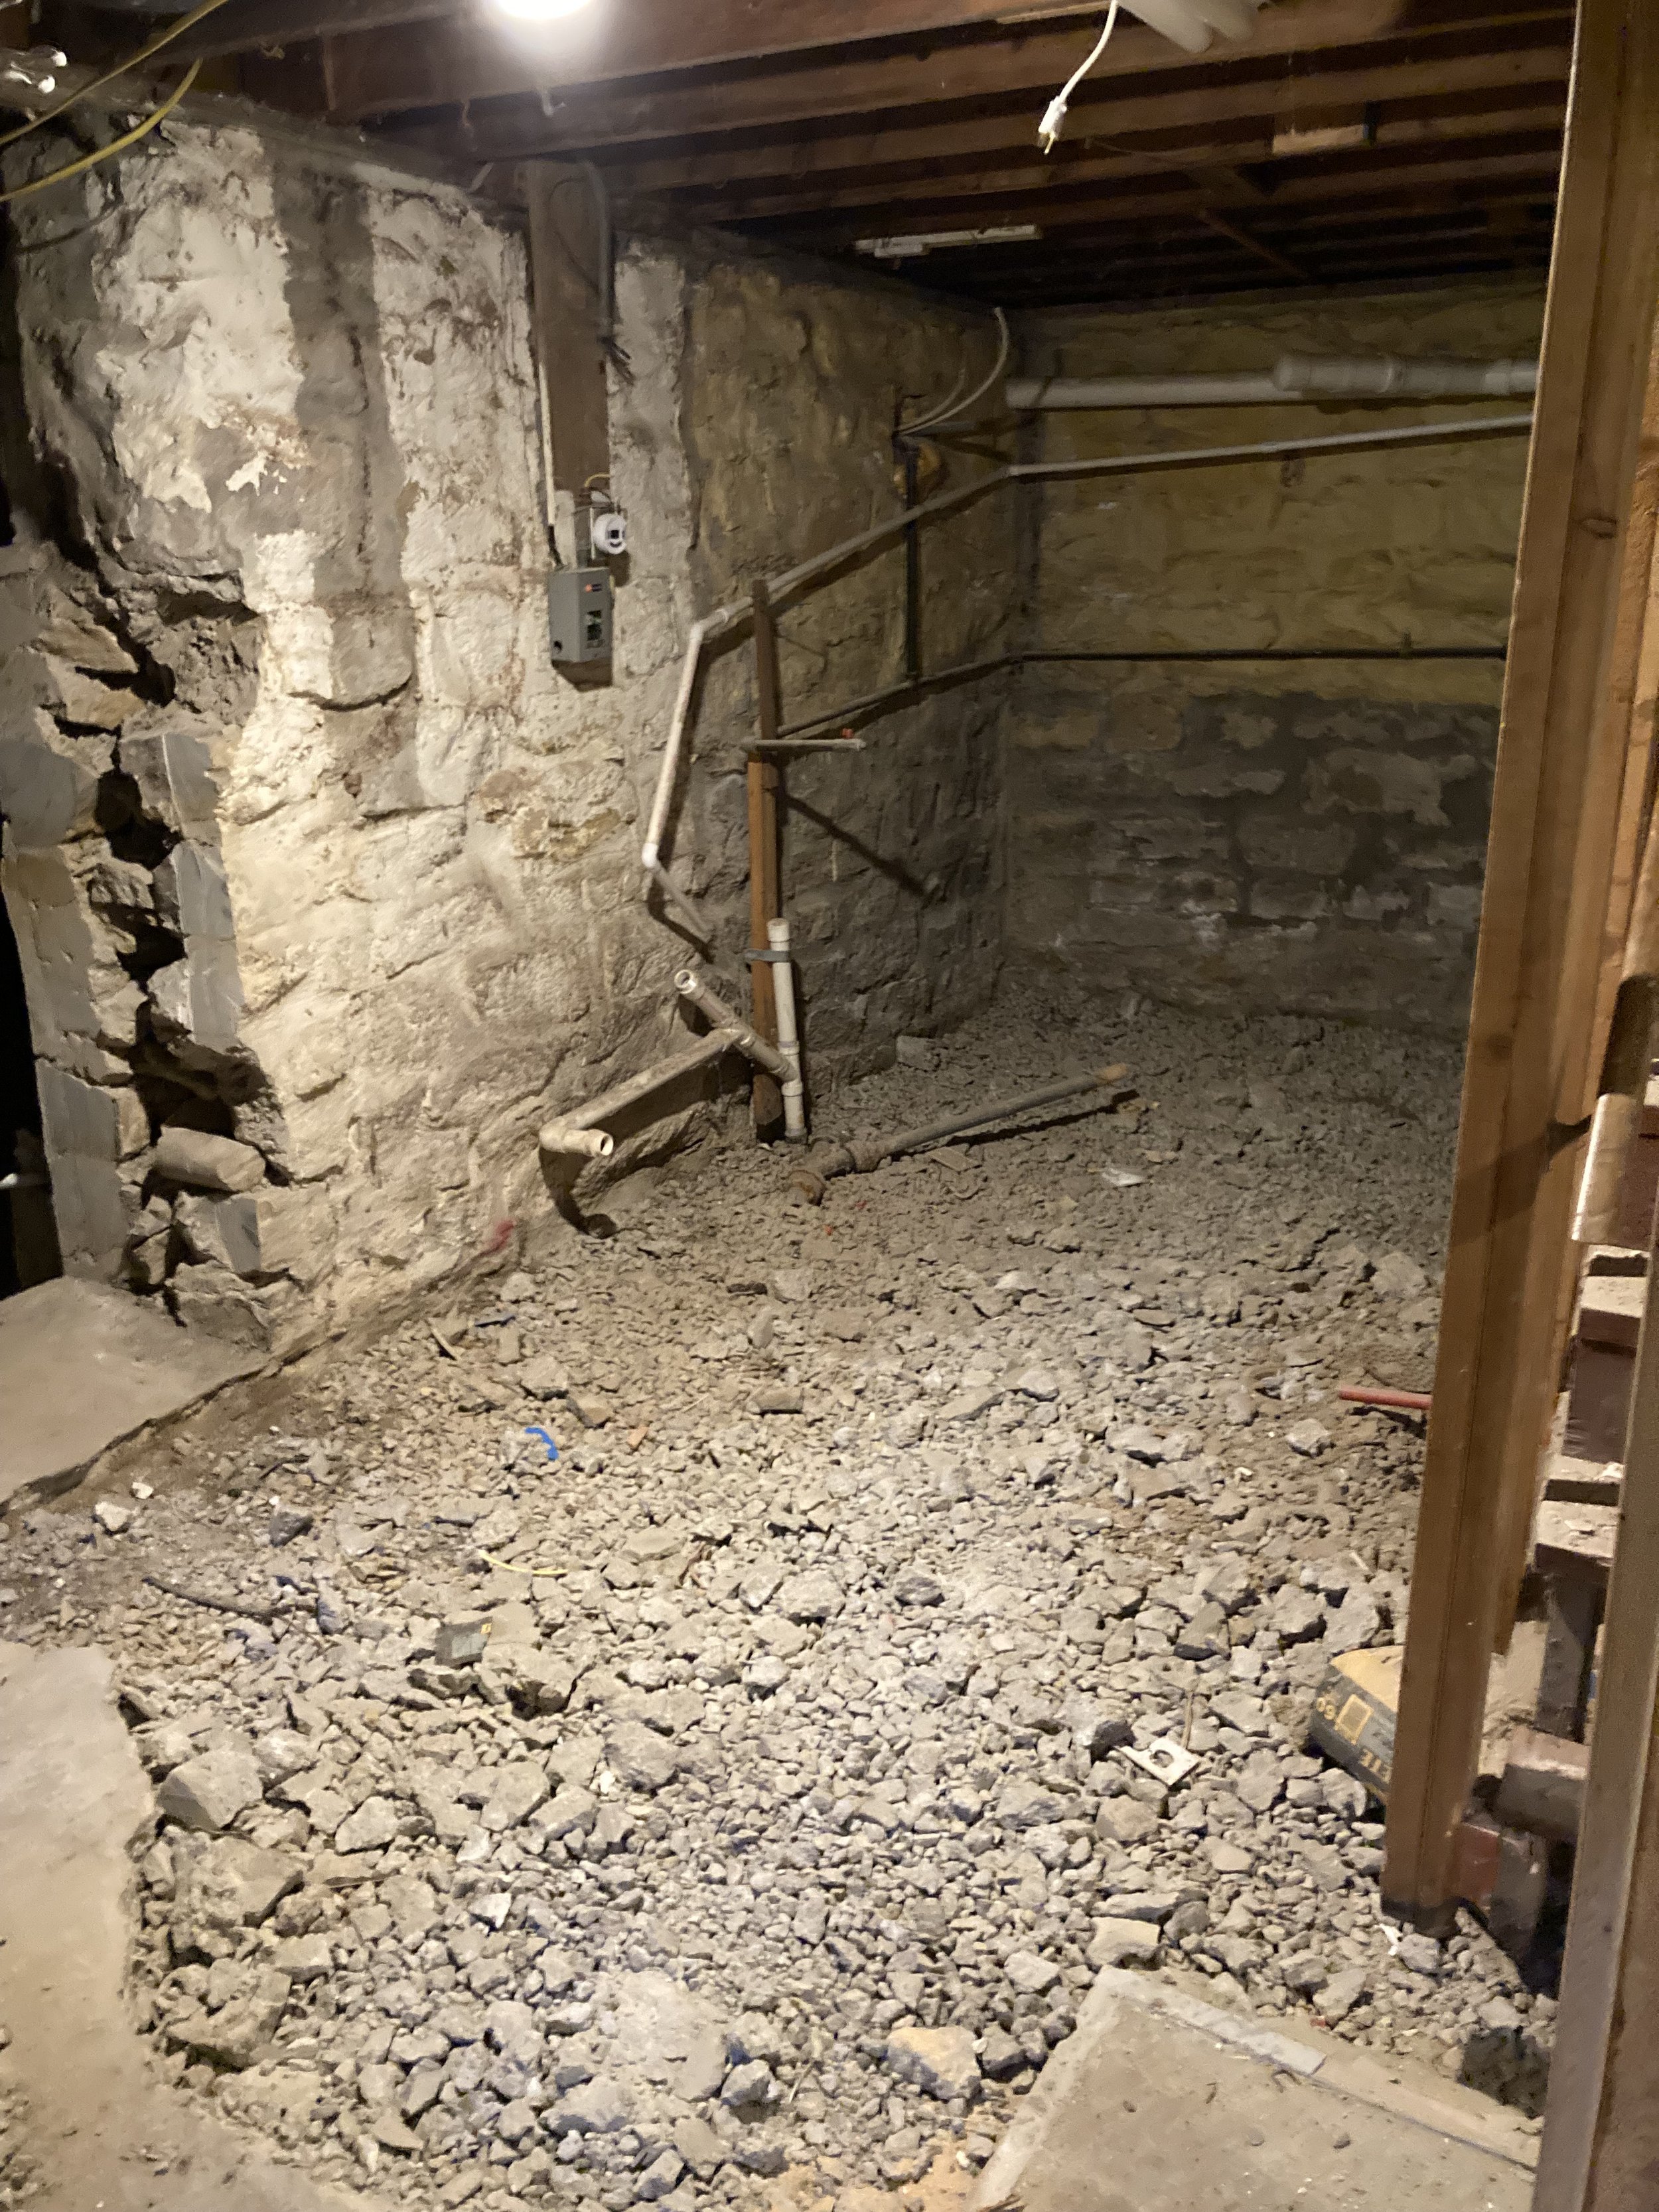
Our future basement full bath; This will make for a great before and after!
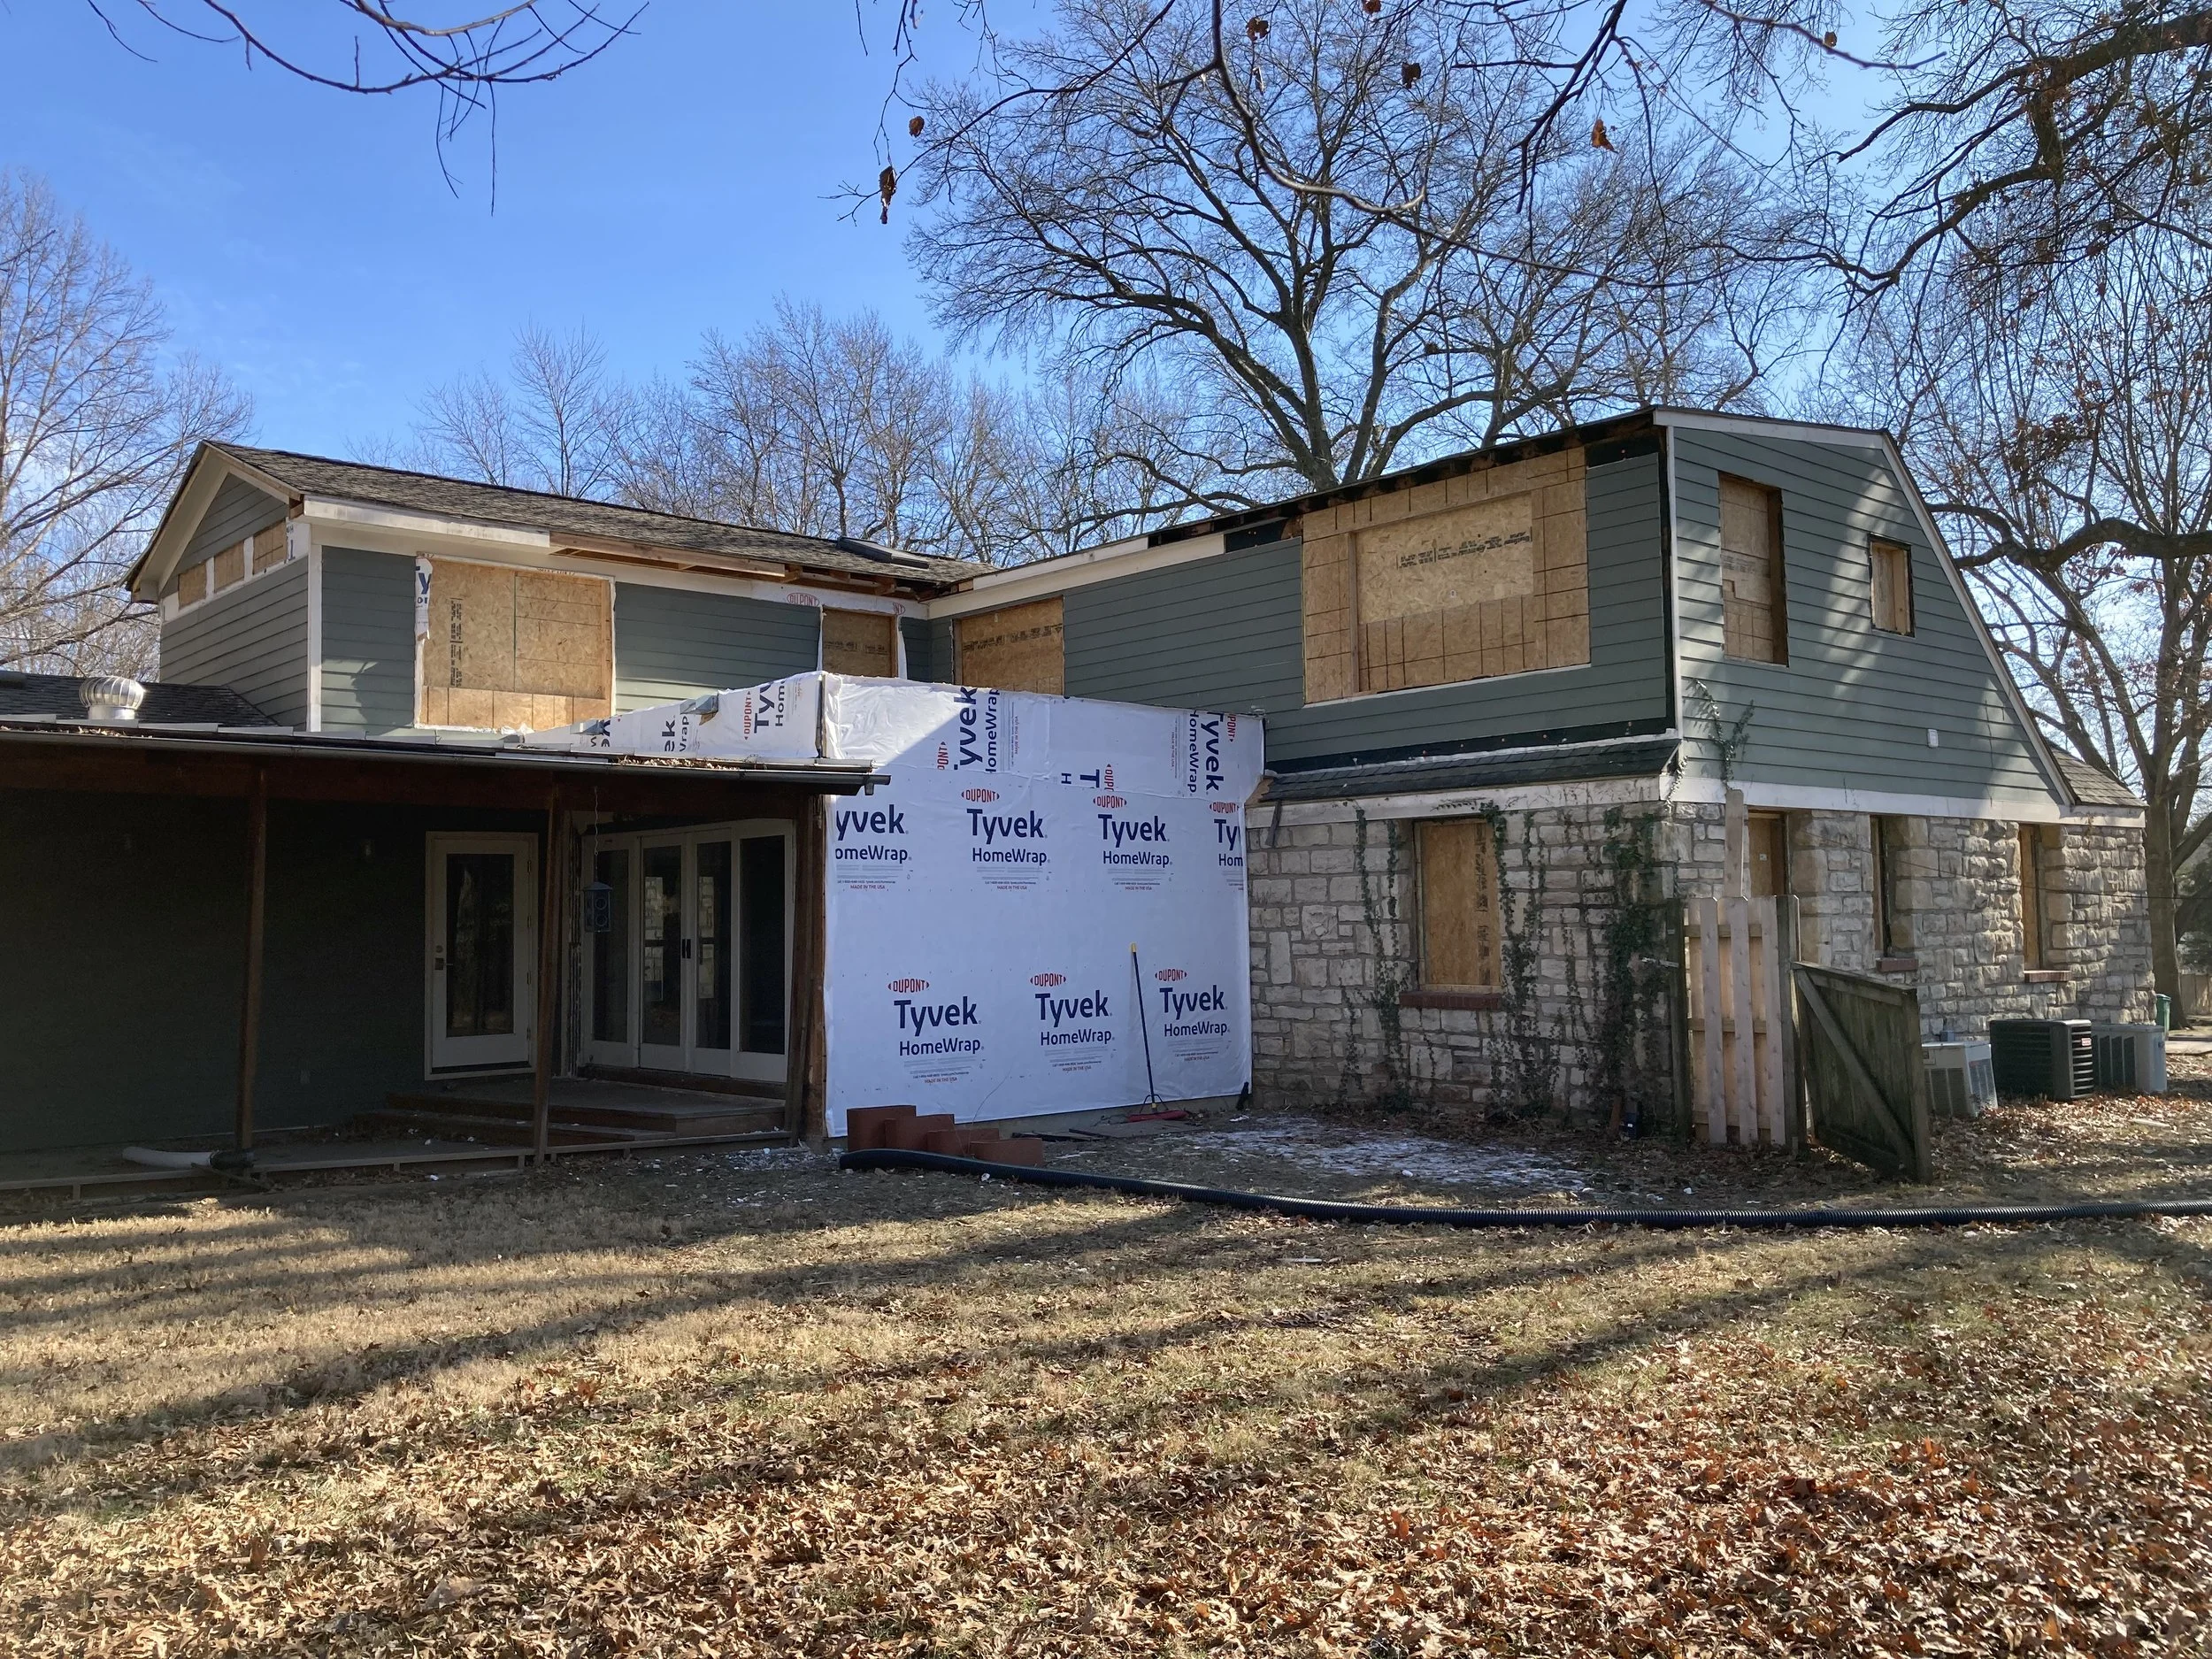
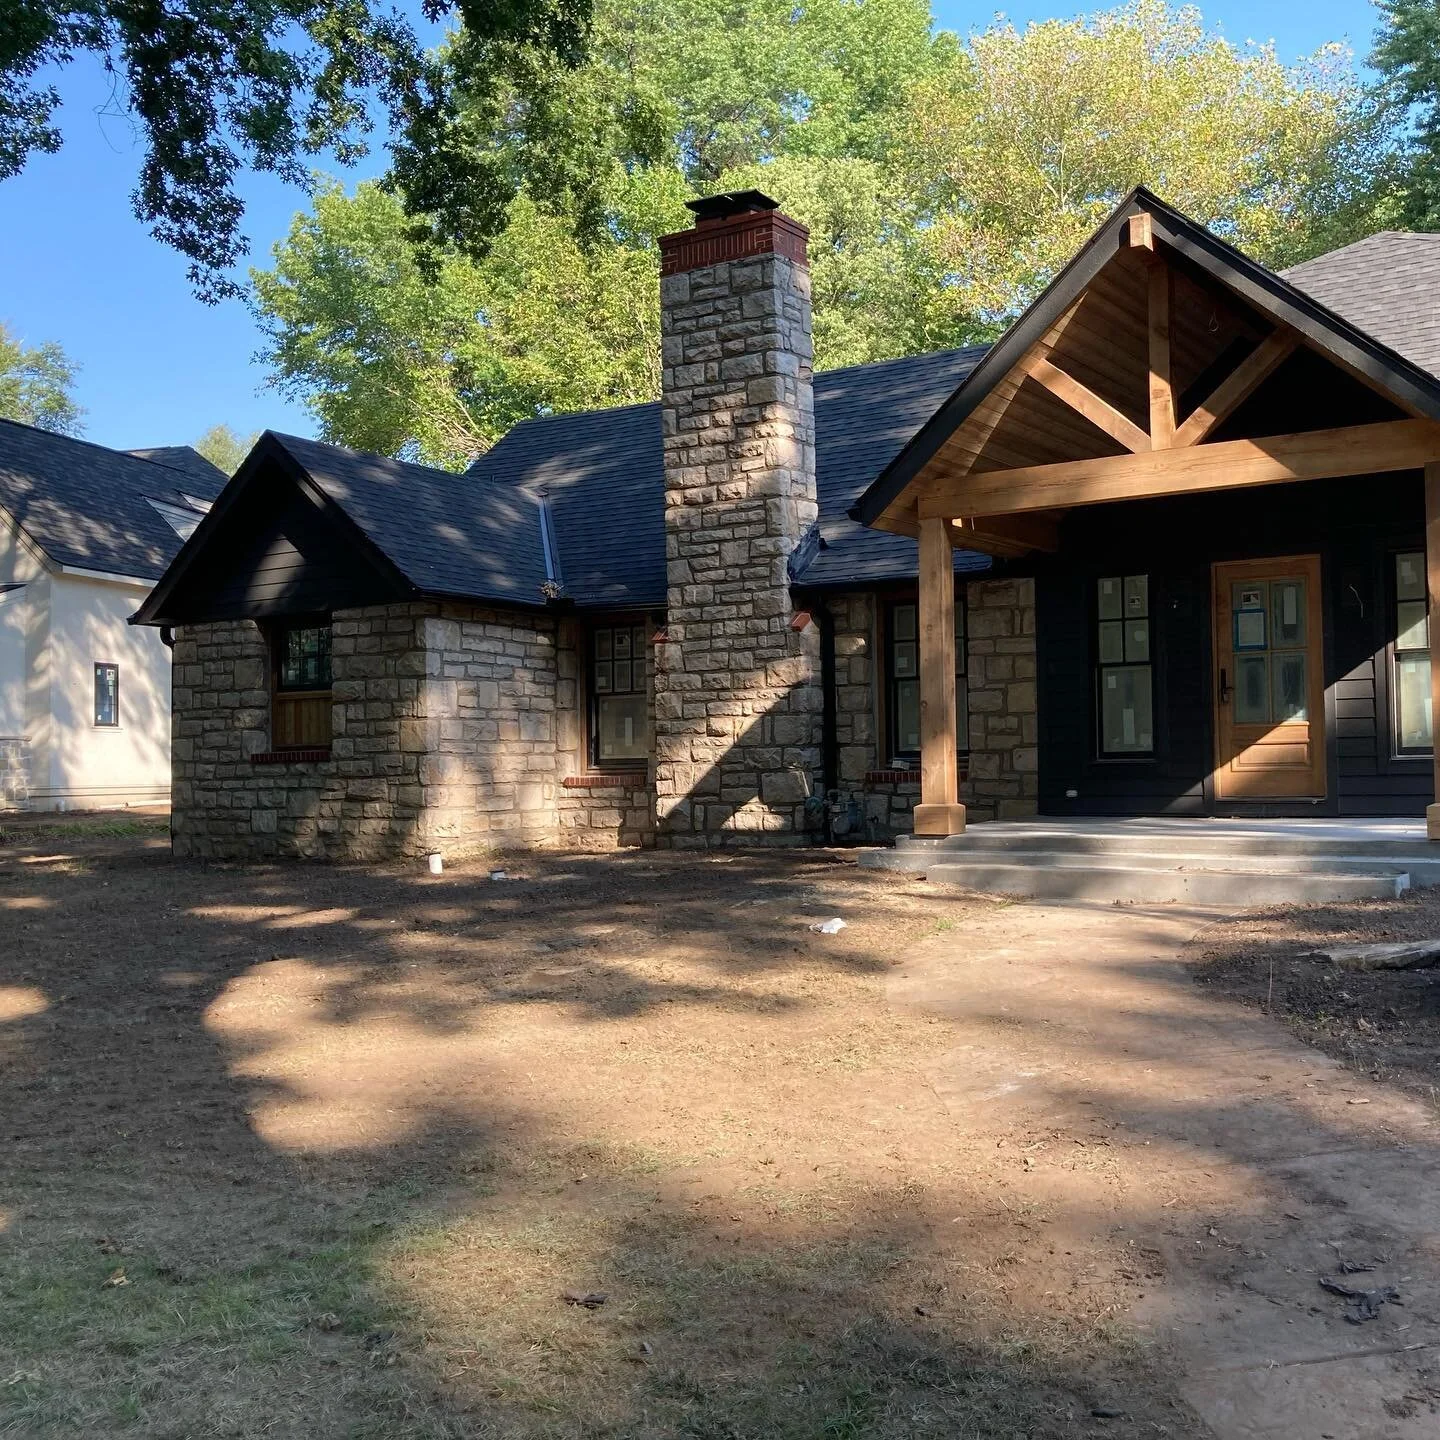
Our sad house with the windows boarded up. I wasn’t able to capture many photos during this timeframe because it was so dark it was difficult to see, let alone take photos.
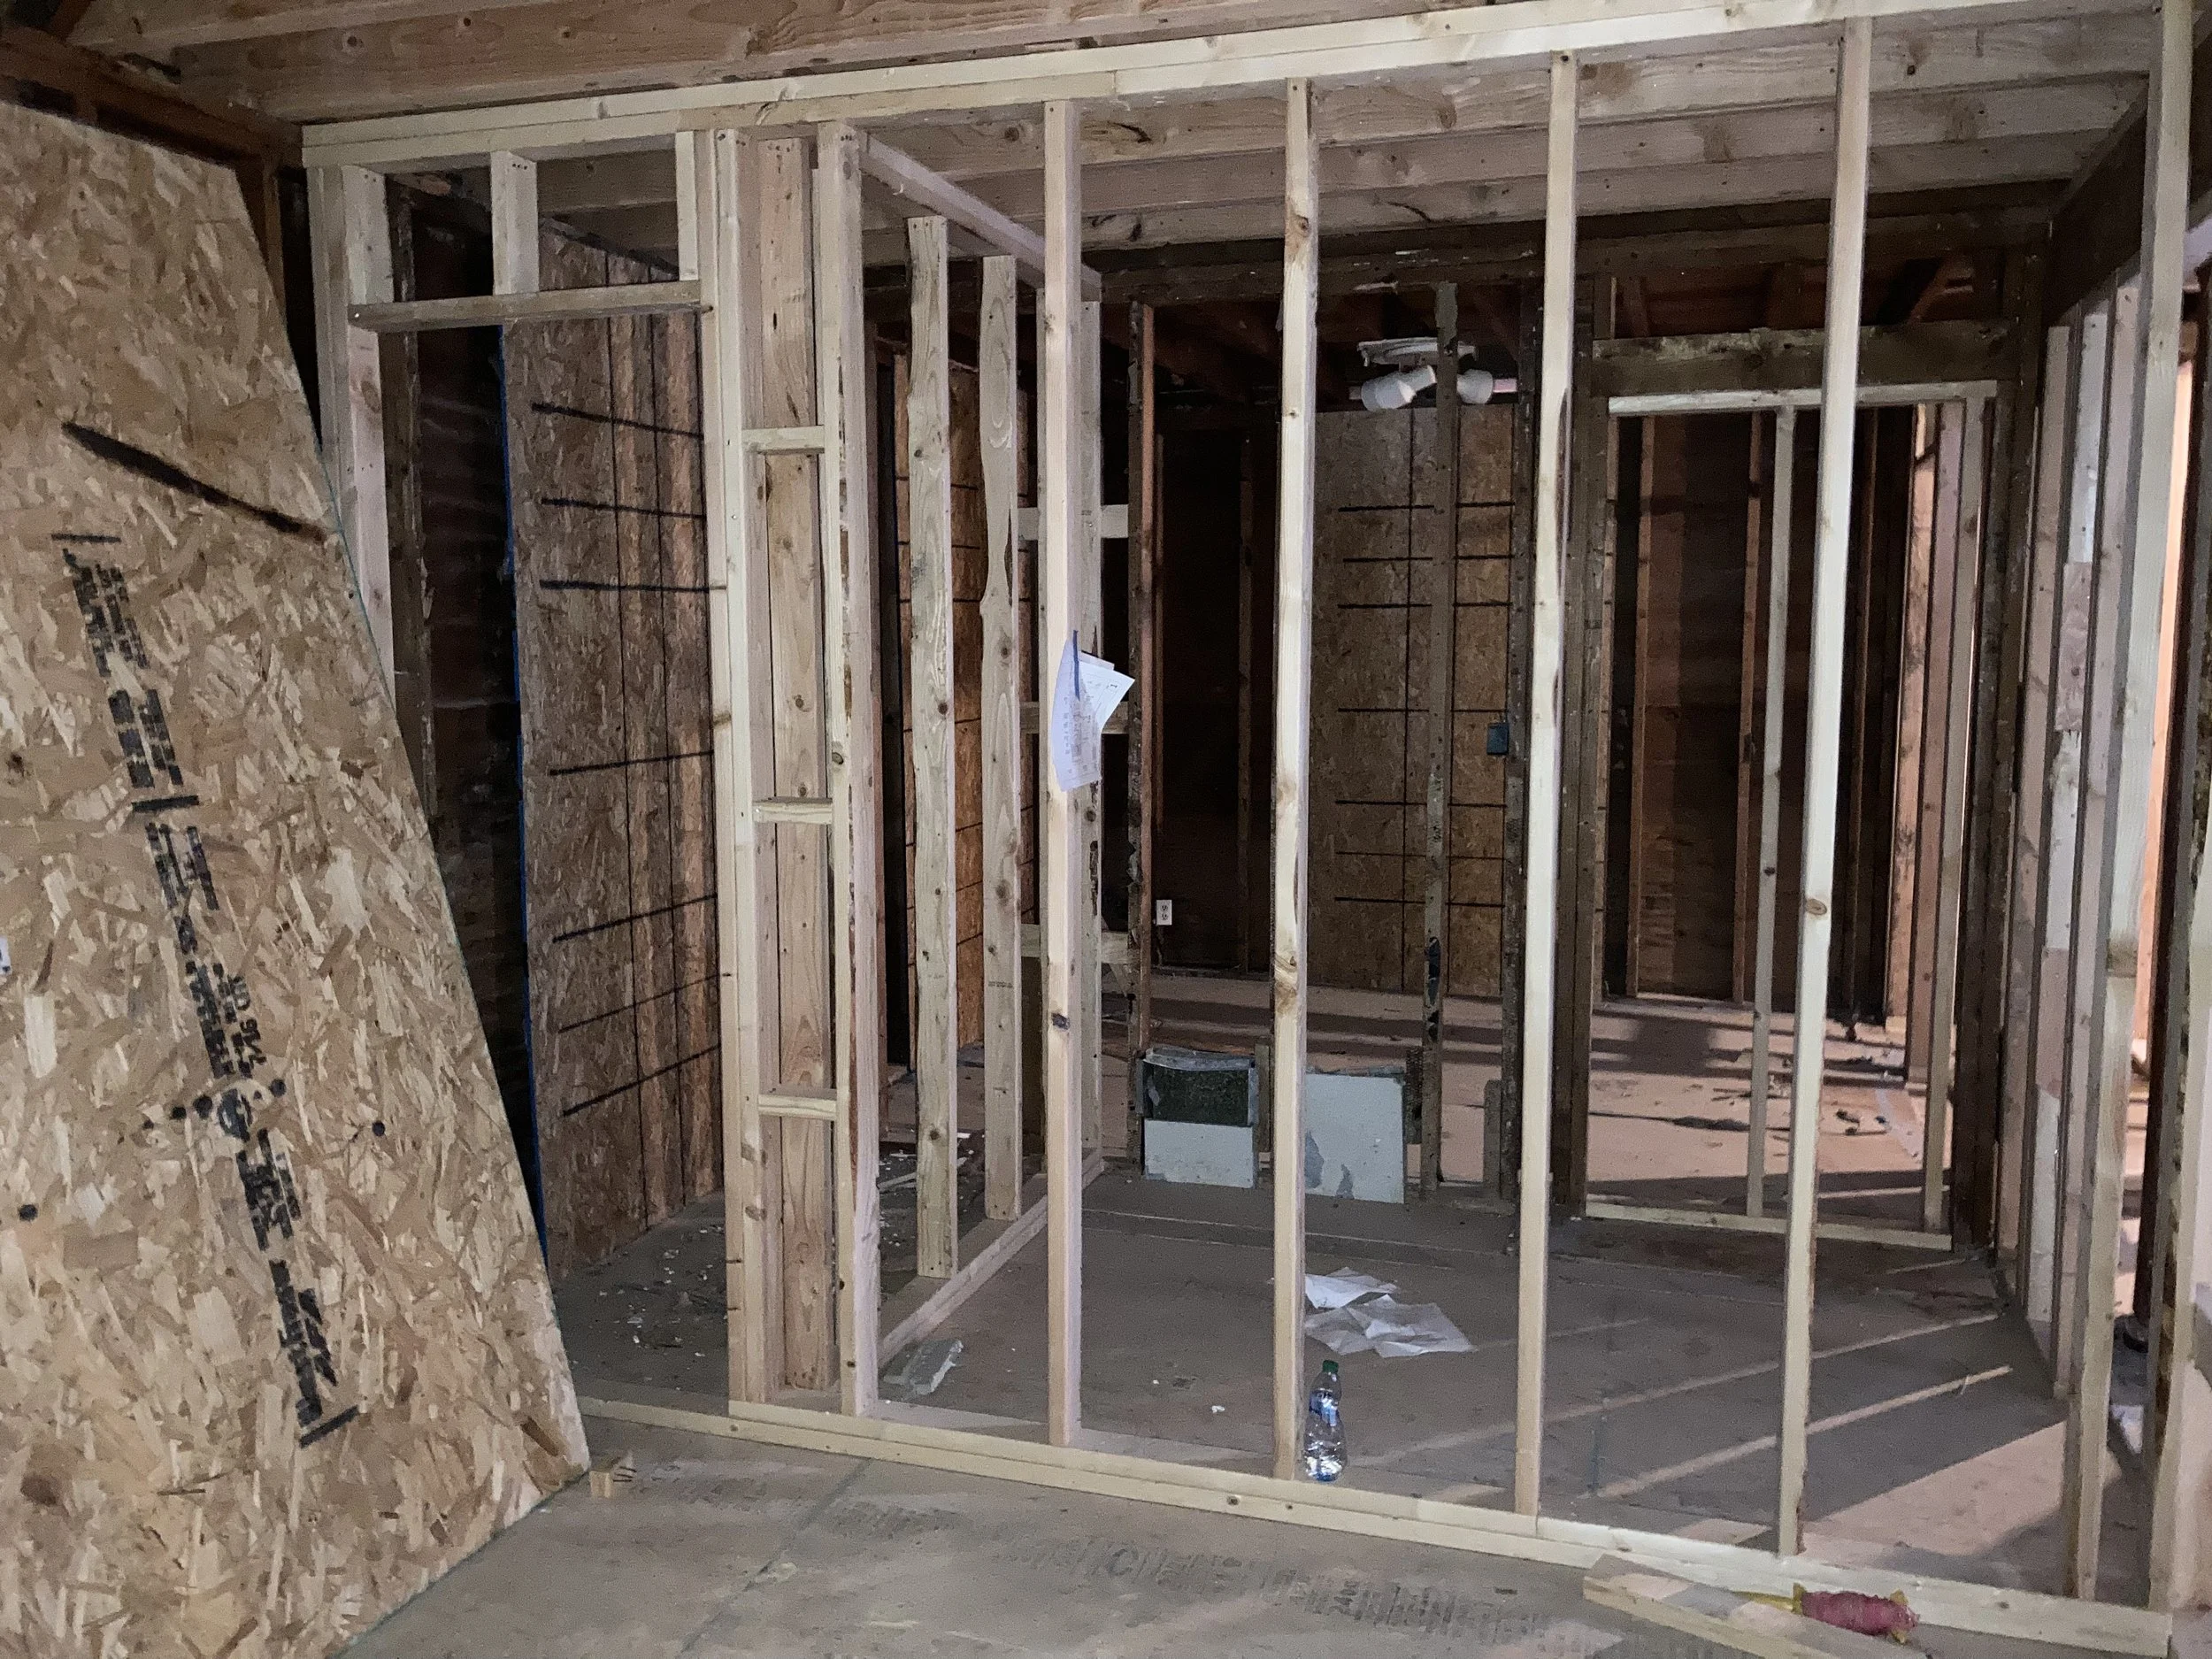
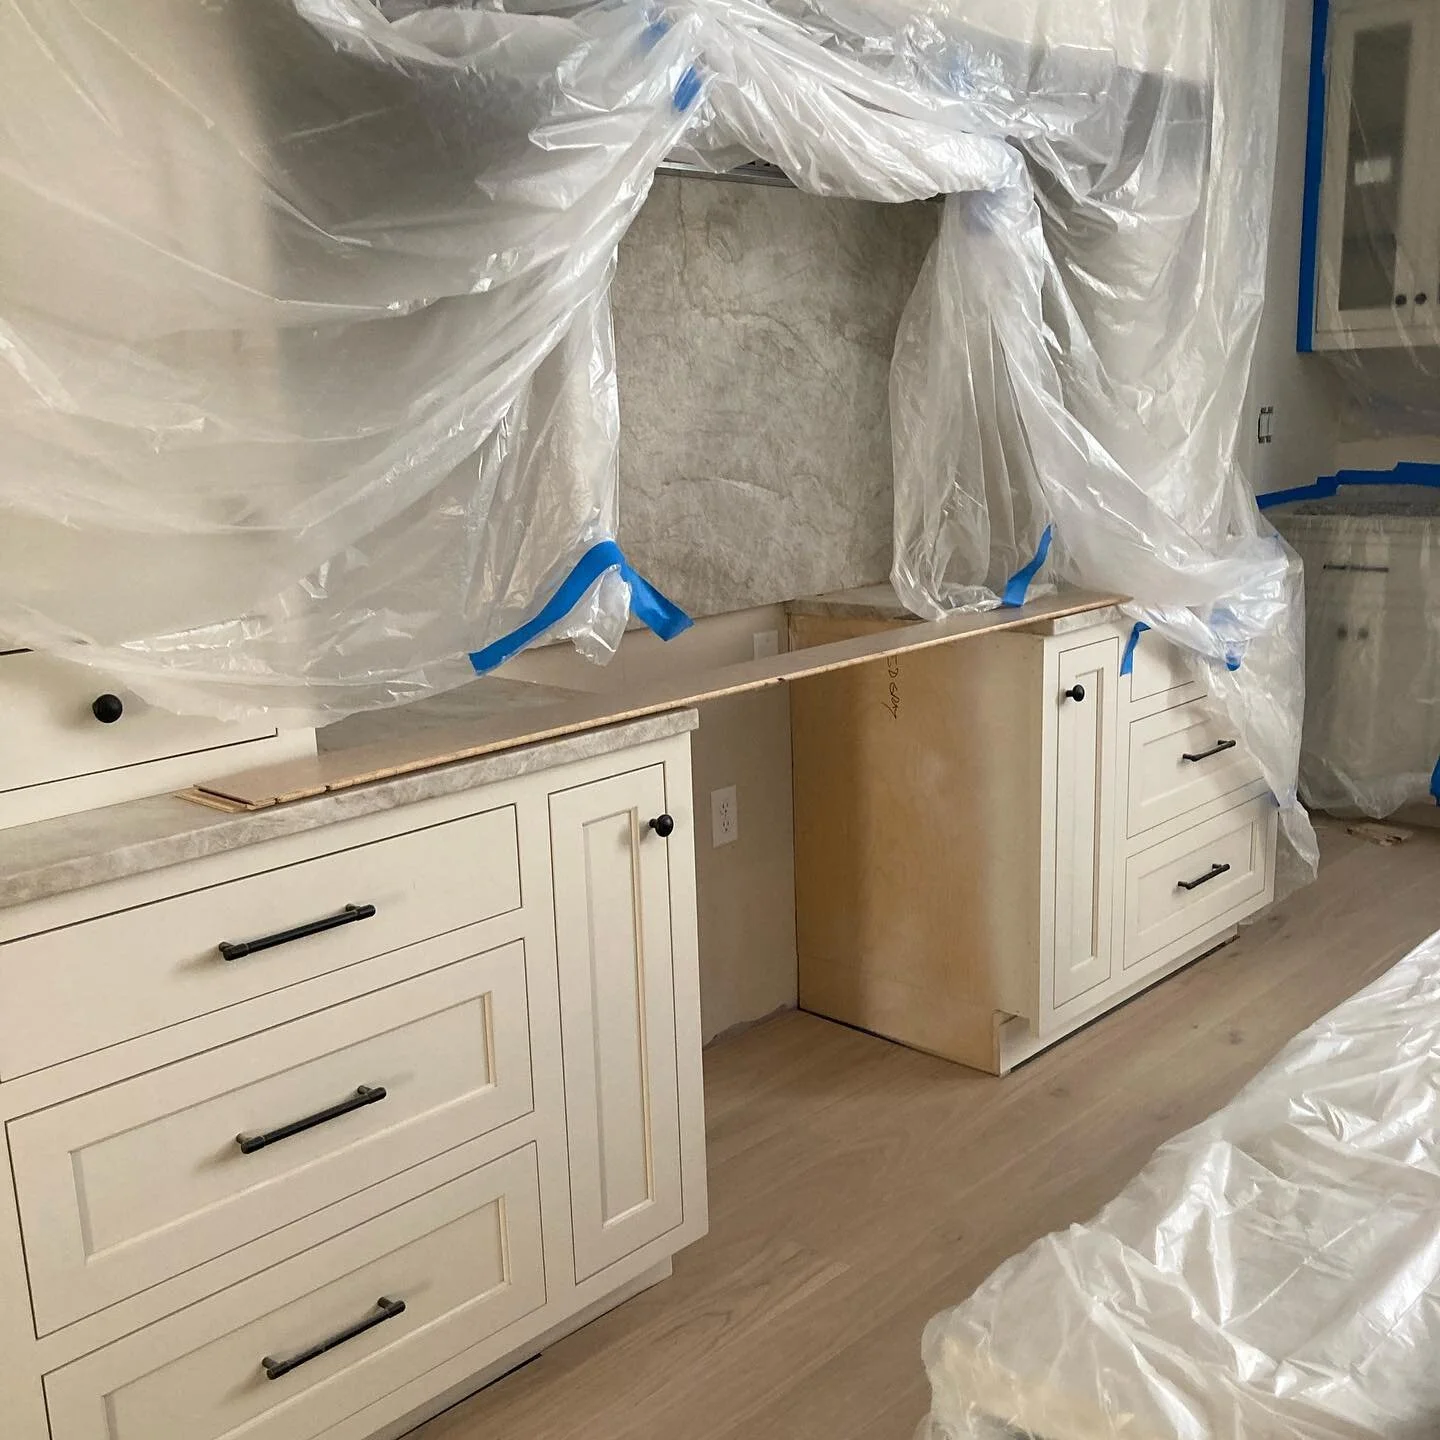
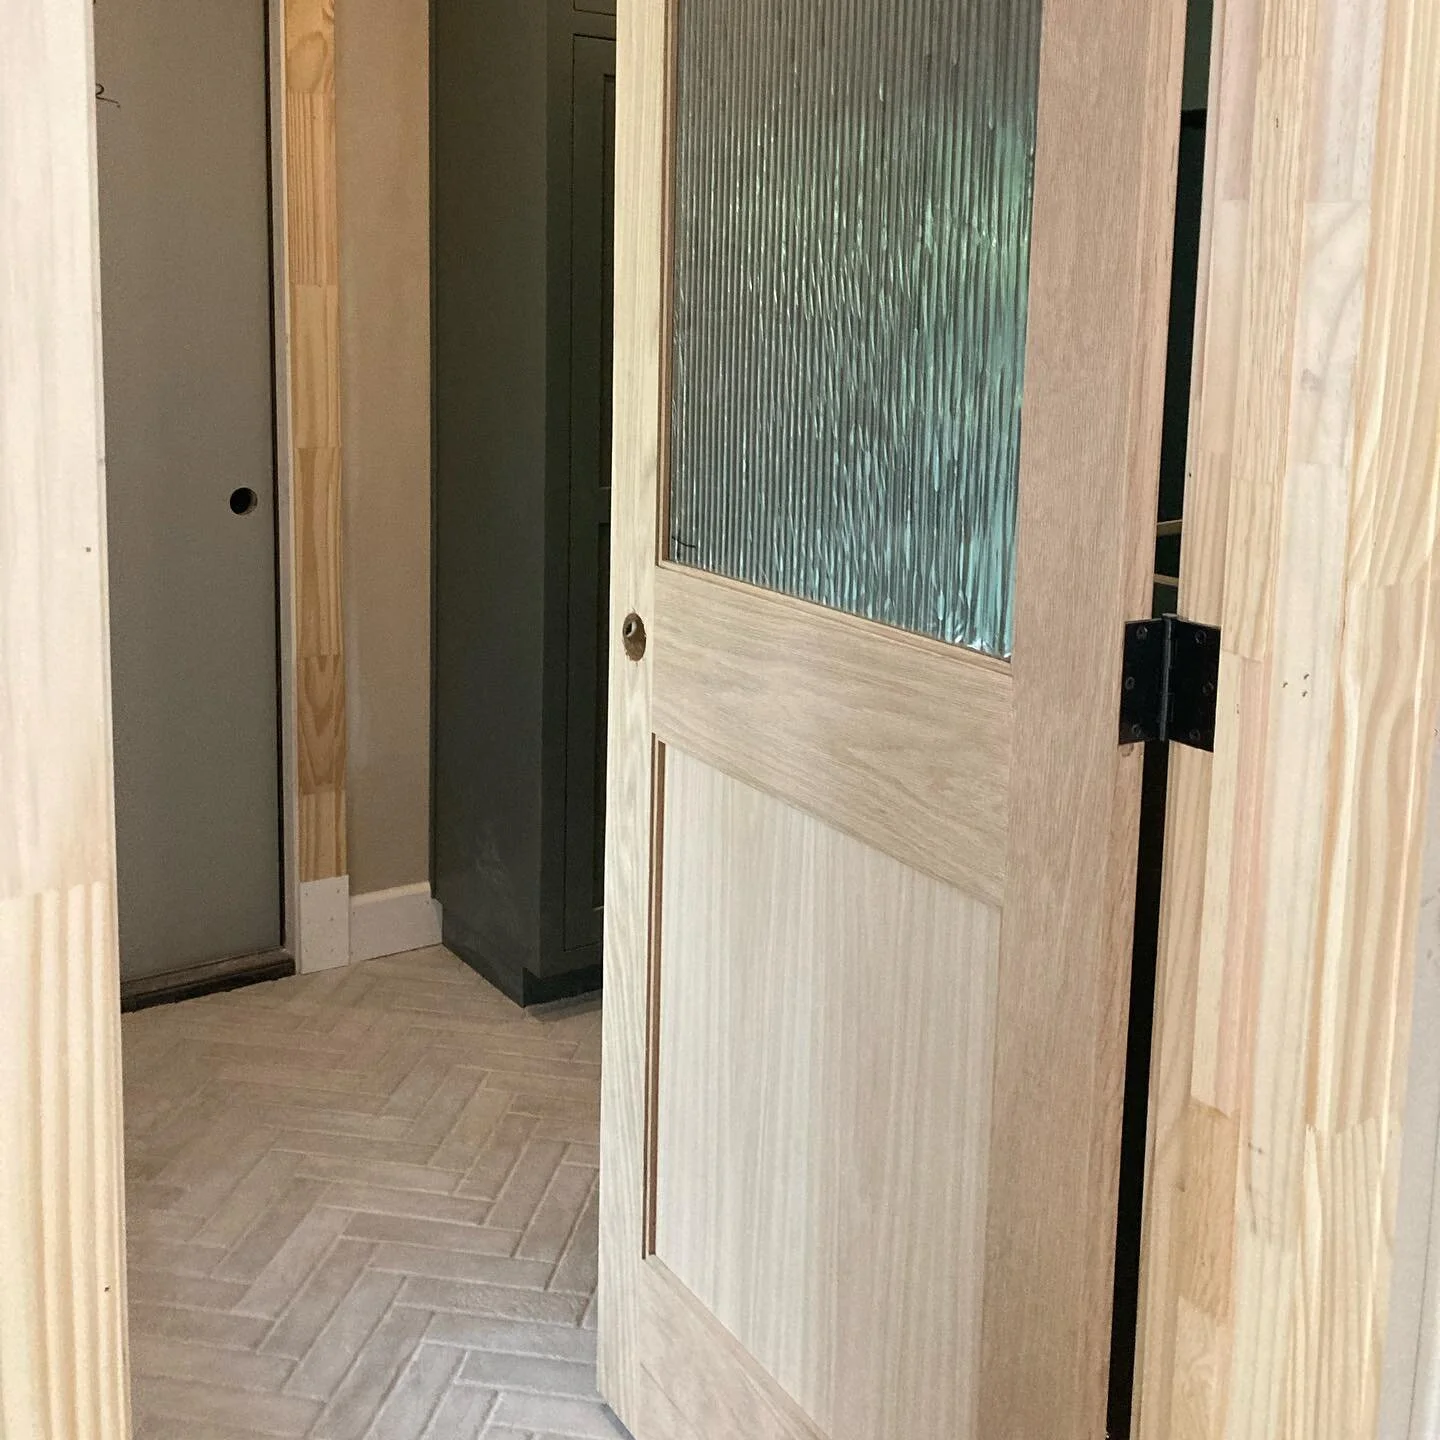
Our future master bath vanity wall.
This is obviously the part of the project that you typically do not see in portfolios or on Instagram, but a very large part of the process. This is when all of the planning and problem-solving comes into place. This is when all of the framing is completed and all of the rough-ins are installed for the eventual plumbing, electrical, and HVAC. It’s when the framework for the spaces comes into play. It may not be pretty, but it’s progress, and we cannot wait to see what comes next!

Welcome! I’m Jena. I am an interior designer and mom who has recently relocated to the Kansas City area. Thank you for following along as we uncover the true potential of our new home.